

Princess Castle in the clouds
$79.00
A beautiful wall feature for a girl’s bedroom, the Princess Castle in the Clouds removable wall sticker will be the scene for many made up stories.
Our wall stickers are shipped from Melbourne in 3-6 business days, printed with water-based inks on a non-toxic fabric with a removable adhesive that won’t damage all wall types on removal.
- Description
- Packed parcel dimensions
- Reviews (0)
- Removable wall mural FAQs
- How to apply
- Product Warranty
Description
The Princess Castle in the Clouds wall sticker design is a gorgeous feature for a bedroom.
Material: Matte fabric wall stickers with a peel and stick, removable adhesive
Contents: Comes in 3 pieces, castle nestled in clouds, and 2 cloud clusters
Size: Total design if laid out as pictured is 1115cm wide x 99cm high.
Application:Simple peel and stick application, see above tab for more details
Dimensions shown are the finished, packed parcel size for shipping — not the installed product size.
Additional information
| Weight | 450 g |
|---|---|
| Dimensions | 104 × 9 × 9 cm |
| Designer | The Wall Sticker Company |
| Installation | Simple peel and stick |
Be the first to review “Princess Castle in the clouds”
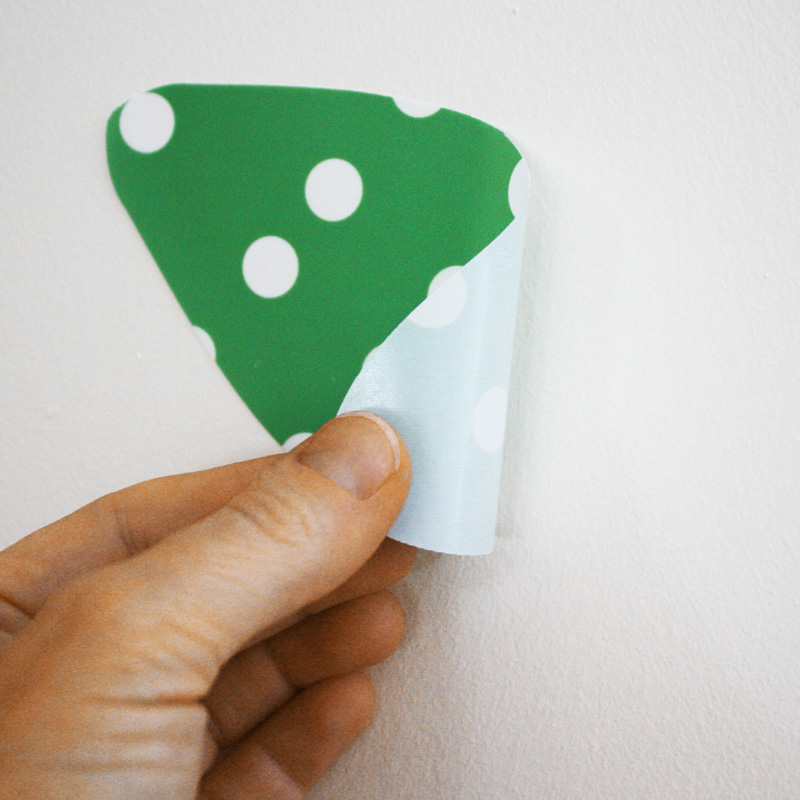
Our removable wallpaper looks like traditional wallpaper but with one very important difference – it has a self adhesive backing. So there’s no need for glue or water, rollers, sponges, or heat guns; you simply peel the fabric from the backing paper and stick it straight to the wall. The finish is a high-end matt fabric will a fine weave.
Installation: It is easy to install yourself because it is repositionable so once the panels are in place, any bubbles just smooth out with your hand. The fabric won’t tear or stretch. The panels butt up against each other, creating a seamless finish.
Our product suits all wall types: plaster board or brick/concrete/rendered.
Our product will curve around corners and over picture rails, and is trimmed around power points and fixtures with a sharp stanley knife.
Removal: The removable wallpaper product will continue to look good for years and years and when it’s time for an update or to move home, it peels off the wall without causing any damage, or leaving any residue. Keep the backing paper and it can even be moved to another wall. It is the perfect solution for renters who want to decorate.
How much to order: Start by measuring your wall. Enter the wall width into the calculator to work out how many units to buy. Our panels are 65cm wide so you may require 4 units by your wall height.
Please be aware that due to our printing process, future panels purchased may not exactly match. We suggest you order what you need at this time.
Shipping: Your removable wallpaper will arrive rolled up in a tube with instructions included. The panels are numbered on the back and you hang each panel next to each other.
Design ideas: Our wallpaper is perfect for creating a feature wall ad it is best if you choose one with the least windows and doors.
Try a sample first: Before you commit to a design or colour combination, you may like to order a Wallpaper Sample first (cost is redeemable on wallpaper purchase), or simply a Colour Chart to help you select colours.
These instructions will be included with your product
Equipment –
A step ladder, a stanley knife and maybe a second pair of hands. Make sure your hands are clean and dry. Inspect your wall and remove any picture hooks and any switch plates.
Start From the Left –
Start hanging panels on the left side of the wall, either according to the number written on the back, or just one by one. Take your time on this first panel, making sure it is level at the top. If the wall is adjoining another wall, you may need to slightly overhang Panel 1 on the left side and trim later, if the wall is not perfectly square.
Prepare To Stick –
Lay the panel face down on a flat surface (somewhere clean) and peel back about 30cm of backing paper and fold it back sharply (so it stays out of the wa). Do not let any debris stick to the adhesive.
Stick –
Line up the top edge of the wallpaper with the top of the wall and then stick it to the wall. If it is not square, peel it off and reapply.
Remove The Backing Paper –
Once in place, stick it to the wall. Carefully pull the backing paper down from behind the panel in stages, in a slow and even fashion. Let the wallpaper fall naturally into place, smoothing it to the wall with your hand in a down and outwards motion to remove any bubbles.
Wrinkles and Bubbles –
All bubbles should just smooth out. If they don’t or a crease occurs, just peel up the panel and reapply rather than rubbing the print.
Additional Panels –
Align the next panel to the first panel, and remove the backing paper and stick to the wall as per the previous instructions.
If the design is not lining up, once the backing paper is removed from the panel, pull it away from the wall, drop it down 10cm from the top of the wall, align at eye level, smooth it onto the wall from the centre back to the top and to the bottom. Just keep the back of the panel from adhering to itself.
Trimming –
When all the panels have been adhered, use a sharp stanley knife to remove any excess at the base of the wall. Carefully trim around the power points and light switches after pulling the plate off if necessary.
Keep Your Backing Paper and Tube
In case you decide to relocate your wallpaper, or move home or office, keep the backing paper and the tube to store your wallpaper in.
To reapply it to the backing paper without collecting debris on the back, you need to transfer it to the backing paper while vertical. Stick the backing paper to the wall with sticky tape (at the top and bottom) next to the panel you want to remove. Peel the whole wallpaper panel off the wall, move it across and place it onto the backing paper, getting it as lined up at the top and sides as possible. Just roll up the panel and carefully place it in the tube and protect the ends against damage with some bubble wrap. “””
We have a 100% happiness guarantee. This means that if goods are faulty, have been wrongly described, are different from a sample shown, or do not do what they are supposed to do, you can choose between a refund, exchange or credit. If you simply change your mind, we will exchange your design if you contact us within 30 days of receiving your order. Custom products that have no quality-related issues cannot be returned or refunded. Colours may vary on-screen to products received.
Due to our manufacturing process, products purchased at different times may not match in colour.
Reviews
There are no reviews yet.