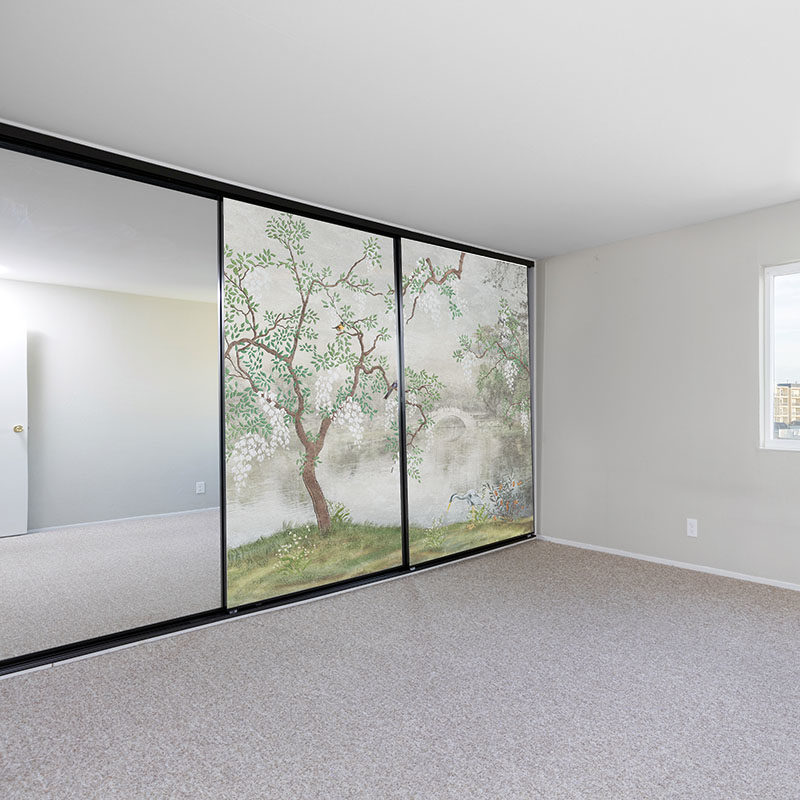
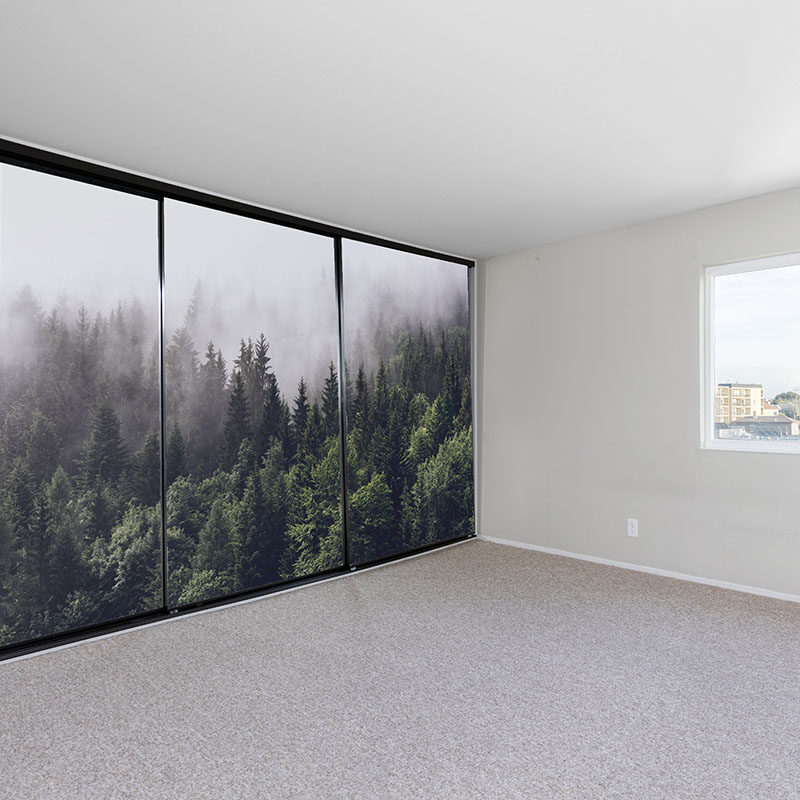
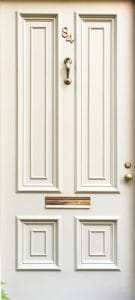
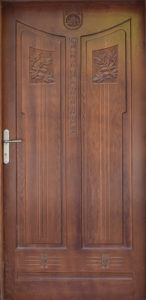
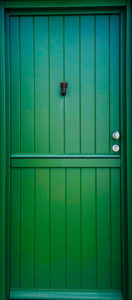
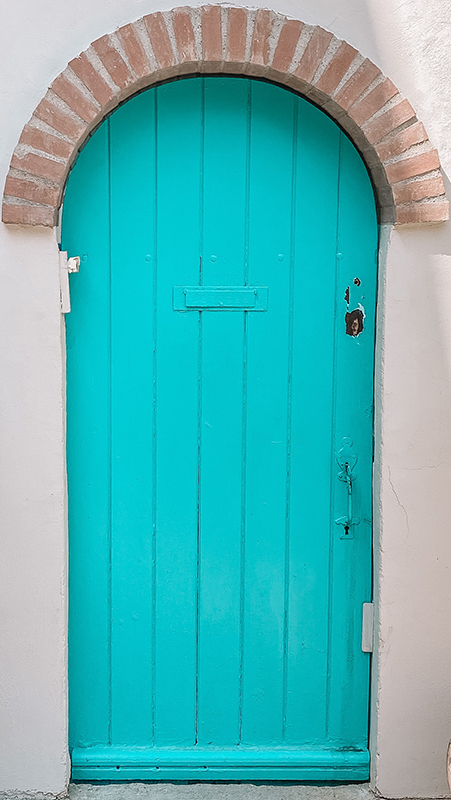
Cupboard & Wardrobe Door Wraps
Cupboard Door Wraps are wallpaper for sliding closet doors that transform your mirrored or unattractive doors into a beautiful wall feature! Can be adhered to MDF, mirror/glass or sealed wood surfaces. We supply door-sized panels with a little extra for easy, no seams and DIY installation.
Upload your own artwork, use anything from our range, or tell us what you’re looking for — we’ll take care of the rest.
- Easy peel-and-stick installation
- Repositionable and renter-friendly
ORDER WITH CONFIDENCE
✔ Every artwork file is professionally reviewed
✔ A scaled proof is sent for approval
✔ Nothing is printed without your confirmation
- Description
- Packed parcel dimensions
- Reviews (4)
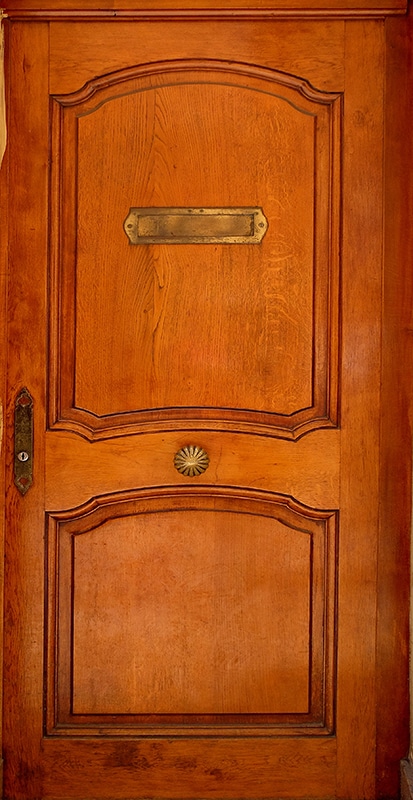
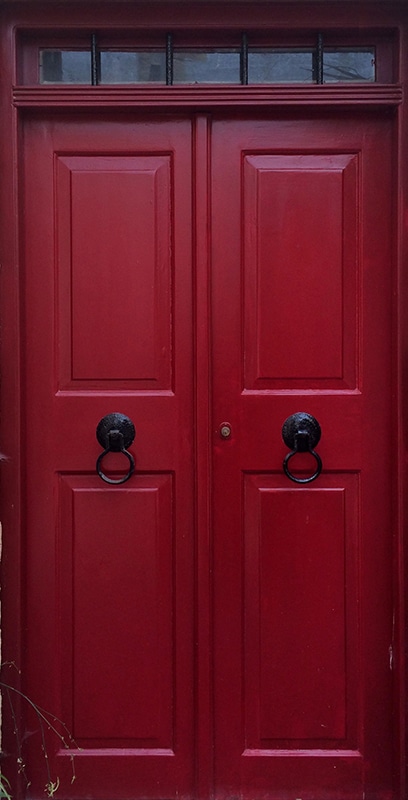
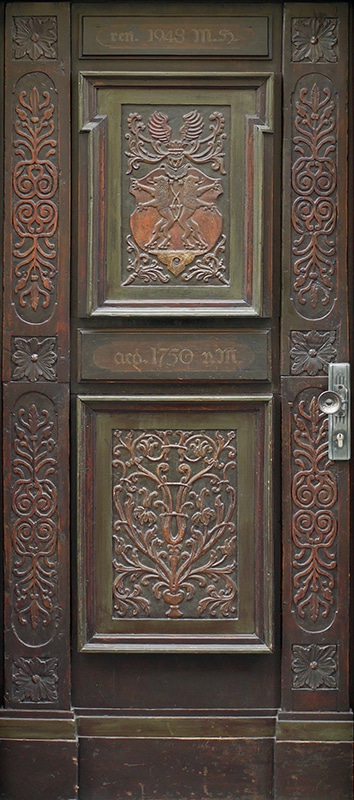
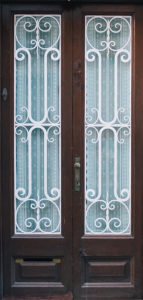
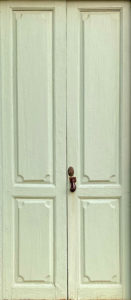
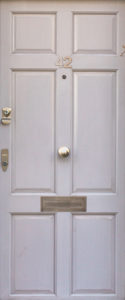
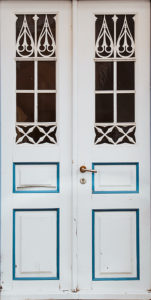
- Image Ideas
- Removable door wrap FAQs
- How to apply
- Product Warranty
Description
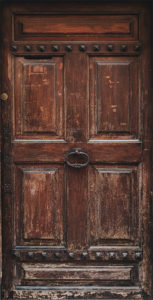
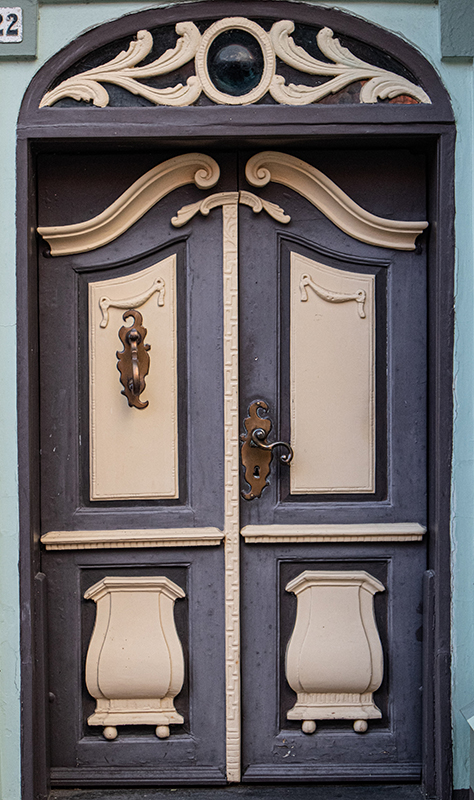
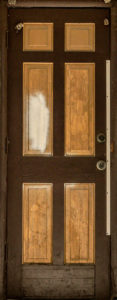
Cupboard Door Wraps are a stylish way to transform your mirrored or unattractive wardrobe doors into a beautiful wall feature. Our wallpaper for wardrobe doors will give your cupboards a fresh, decorative look. Do you have a mirror on a cupboard door? Now you can replace it with a removable wallpaper or printed image — designed and made in Melbourne.
Contents: Custom size panels printed with your chosen image
Surface: Can be adhered to MDF, mirror/glass or sealed wood surfaces
Panel Sizes: You tell us – we will supply panels that fit each of your cupboard or wardrobe doors, with a little extra to make placement perfect.
Measuring: Measure each of the doors and then fill in the form above. If they are all the same width and height, just enter one set of dimensions and how many there are. Or if the cupboards are different, enter each doors dimensions please.
Image: Choose from a continuous image, or a feature wallpaper. Choose one from our range of wallpaper designs and mural images. Alternatively upload your own image (a link to our Dropbox folder in the email we send you after placing your order), or we can find you one.
Application: Bubble free application. Can be installed by anyone, a simple peel and stick, bubble-free application. For a mirror with a wardrobe door, it with cover the mirror completely and remove without causing damage or leaving any residue.
Dimensions shown are the finished, packed parcel size for shipping — not the installed product size.
Additional information
| Weight | 2000 g |
|---|---|
| Dimensions | 105 × 9 × 9 cm |
| Product Type |
4 reviews for Cupboard & Wardrobe Door Wraps
Add a review


Material: wallpaper for wardrobes are a bubble free vinyl for an easier installation.
Appearance: The finish of our door wraps is matte with a very small weave. The edges of each panel butt together for a seamless appearance.
Use: our removable wallpaper for wardrobe doors are intended for use on flat, internal doors. Our product is perfect for renters and those wanting an instant update to any room or space.
Door types: Our wall paper for closet product suits all flat surfaces, and all types of paints.
Movable: the product is movable so during application, if it is not in the right spot it can be peeled off and reapplied.
Installation: Many our of customers are concerned they won’t be able to put up the wraps themselves. You just need time, a step ladder and a sharp Stanley knife. However we understand the needs of businesses, specifiers and busy people, so you can order the installation of your door wrap – please contact us here.
Wallpaper Application Instructions (these will be included with your wallpaper)
Before you start…
- Newly painted walls need 4 weeks to outgas before application of wallpaper or murals.
- Avoid rubbing the product or exposing to solvents or water.
EQUIPMENT
You’ll need a step ladder, a sharp Stanley knife (snap for a new blade) and possibly a second pair of hands. Make sure your walls are clean and dust free, and wipe the skirting boards too. Remove any picture hooks, tacks or blue tack, and any switch plates. Make sure your hands are clean.
GETTING STARTED
Notice on the back corner of the panels the numbering -you’ll be putting up panel #1 on the left then applying them to the right. (For left-handers just start at the highest number and work from right to left.) Lay the first panel design-down on a clean, flat surface. Peel the top edge back 30cm or so, and the fold the backing paper back so it stays out of the way.
REMOVE THE BACKING PAPER FROM THE WALLPAPER OR MURAL PANELS
Now you’re going to temporarily stick the panel to the wall so you can remove the backing paper safely. Stick it to the wall under the cornice (don’t worry about placement yet) and stick it to the wall. Start pulling the backing paper down from behind (evenly across to avoid buckling), and stick the wallpaper to the wall as you go – just enough to keep it stuck. Prevent the sticky sides of the wallpaper from sticking together.
STICK THE WALLPAPER OR MURAL PANELS
Once the backing paper is removed from the top of the panel you can place it properly. Placing the first panel is the trickiest so take your time. From the step ladder, pull the entire sheet back off the wall to line it up under the cornice. Then let the panel fall naturally. If the side of the wall is not covered all the way to the corner, allow an extra centimetre across the corner – this can be trimmed off at the end. Pull it off again if you?re not happy, and reapply. Once you are happy with how it is placed, smooth it from the top in a down-and-out motion to ?sweep? out any air pockets.
DEALING WITH WRINKLES & BUBBLES
Large bubbles should just smooth out but if they get trapped or you get a crease, just peel back the panel to release them rather than rubbing the print.
MATCHING THE WALLPAPER ART DESIGN
For the next panel you need to repeat the above to get it safely on the wall and off the backing paper. For the best result, apply the panel temporarily 10cm below the first panel. Now step down and, at eye level, match up the design and butt the panels into each other (no overlapping is required). Line up the design up and down the join and stick it to the wall but only enough to hold the panel flat to the wall – you can smooth it completely to the wall once the entire join is matched.
TRIMMING THE WALLPAPER
Only once all the panels are adhered and aligned can you trim off the excess wallpaper. Run your sharp Stanley knife blade along the sides and bottom. Carefully trim around power points then replace the plates.
MOVING THE WALLPAPER PANELS
If you want to move the wallpaper to a different wall, you need to apply it to the backing paper while vertical to avoid debris getting on the sticky side. Stick a panel of the backing paper on the wall next to the panel you want to remove – stick at the top and bottom with masking tape or similar. Peel the panel of wallpaper off the wall and move it across and stick it onto the backing paper, getting it lined up as best as possible. It will help to have a second pair of hands to guide the bottom of the panel. Once stuck, roll up the panel and protect any exposed edges – wrap in bubble wrap.
We have a 100% happiness guarantee. This means that if goods are faulty, have been wrongly described, are different from a sample shown, or do not do what they are supposed to do, you can choose between a refund, exchange or credit. If you simply change your mind, we will exchange your design if you contact us within 30 days of receiving your order. Custom products that have no quality-related issues cannot be returned or refunded. Colours may vary on-screen to products received.
Due to our manufacturing process, products purchased at different times may not match in colour.
Cheryl MacKay –
The wardrobe door wraps have transformed my serviceable but boring wardrobe. It looks stunning and has completed my lovely old bedroom. Love love love it. A bit tricky to apply but totally user friendly once I got going. No regrets at all!
Janelle –
We were extremely pleased with our final product. We placed the door wraps on 4 large sliding doors located in a living space. The availability of the samples and interactive colour charts helped us select the right colour choice for our space. The support staff were amazing at getting the print design scale and formatting right for the door specs. High quality from service to product.
Jill Fallon –
Wow,
What a great way to personalise and transform boring beige wardrobe doors.
Great service, item arrived within a week.
Super easy to apply although a second pair of hands makes light work of the task.
Thankyou
Melissa Carmichael –
The wallpaper I ordered for my European laundry doors, went on beautifully. I didn’t experience any of issues I experienced with my mirrored wardrobe doors. The wallpaper looks great. Very happy.